Yaaaay! With the great support from my local Gravis store I figured out that it was just the hard disk that failed and not the whole system. They did some trixx to reset the EFI (this is what a BIOS is called nowadays, nerd!) and finally, I was able to boot from the install DVD again. For just 70,- Euros I bought a new hard disk (which has, by the way, more than double the capacity of my old one) and went home cheerfully.
First, I prepared everything: MacBook, screwdrivers, Leopard installation DVD, the new hard disk:
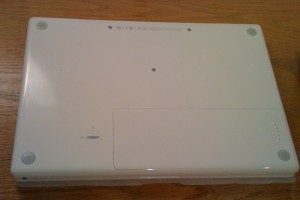
Turned around the MacBook:
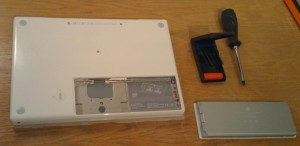
Removed the battery:
Unscrewed and removed the battery and RAM door:
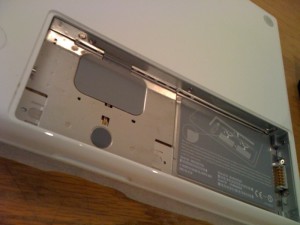
Pulled out the old hard disk:
Exchanged it with the new one:
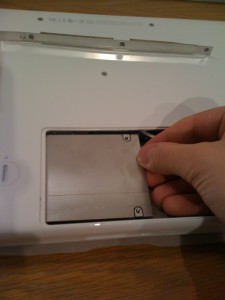
Pushed it back into the system (Damn I love S-ATA connectors! Don’t want to remember how tricky it used to be exchanging the hard disk in the old PowerBook G3 that utilized IDE disks…):
We need more POWER:
Starting up:
Using the insanely easy-to-use and smart Time Machine restoration tool:
… awesome. I just spent 70 Euros, did around 8 clicks or so and my whole system re-installed itself in less than 2.5 hours – without me doing anything else but watching the progress bar grow and playing some CounterStrike 1.6 meanwhile (hehe, there they are, the good old times). Do I need to mention that all my files, all my settings, EVERYTHING is just like it used to be before my old disk drive died? No time-consuming new installation, finding drivers, downloading and installing, every single program I need, configuring Windows or any other task I used to hate so much when I was a Windows-Warrior in the good old times I alluded before? Don’t think I need to mention it now because I already did 😉
This is SO cool. Now I can continue working on my thesis again! 😀 Ah, and the new hard disk is so silent I even kind of miss the sound! Now I never know if my system’s busy or not 😉
Anyways, there’s one thing that’s been bugging me beside the assumed death of my computer: I think I’ve lost my Pentax camera! DAMN! That’s the reason why I shot those pictures with the crappy iPhone built-in camera, by the way. Or does anyone seem to have found it by coincidence?


Herzlichen Glückwunsch du Künstler 😉
Kann zwar nicht nachvollziehen, woher deine Time Machine die alten Settings kennt … aber freut mich für dich, wenn’s funktioniert!
Ist doch nochmal gutgelaufen 70 anstatt x Euro
Aber das der die alten Settings behält ist sehr interessant O.o
Tja wer freut sich nicht über solch ein erfreuliches Ergebniss!
Aber ich hätte die selbe Frage wie meine Vorredner.
I don`t understand half of what is being said here, but I think I would engage Roli for writing User Manuals 😉
I agree with you and must say sorry. We said that Roland is quite lucky with the result by changing the HDD.
The question remains how he transfered his data from the brocken Mac-HDD to the new one. The settings and that stuff.
The answer’s quit simple, fellas! During the normal operation, I’ve let the OS do automatic backups on my external HDD (this function is called Time Machine). And at the very beginning of the installation procedure when you start from the DVD, you can click on “I want to restore my computer from a Time Machine backup” and that’s all there is! You just have to wait for a while (my approx 80 Gigs of stuff including the operating system, my user profile, all my data and applications etc. took about roughly 3 hours). The cool thing is that it’s completely stand-alone. I only had to format the disk using the disk utility provided by the installation program and then it went off 😉
Well, and now my computer looks and feels like as if there had been no damage at all.
hallihallo – and congratulation, of course together with a deep breath of relief that you could manage it without having to throw away the whole machine ! ! !
may I add one more comment to the questions above.
Hi and welcome to the Apple world, or as I used to say since long time:
it’s user-orientated, userfriendly, stable and easy to use. And copies through this Time Machine are what the name says: exact copies of the machine, not just a data backup – you might also call it a real twin to the original.
Exactly for this a.m. case, the guys in Cupertino created this feature, so that you can get your complete computer “back”, in case something happens !
By the way, I would also support “tina” in engaging Roli for higher tasks